
A good Forza Horizon 6 grip tune keeps all four tyres working at similar load and temperature, so the car turns in, holds a line and puts the power down without sliding. In practice you start from neutral balance, fit the grippiest tyres allowed in your class, tune the tyre pressures first, then use the anti-roll bars and differential to correct understeer or oversteer, and add aero only as far as the circuit rewards it. Numbers below are starting points that depend on the car, class and track, so confirm each change against your lap times.
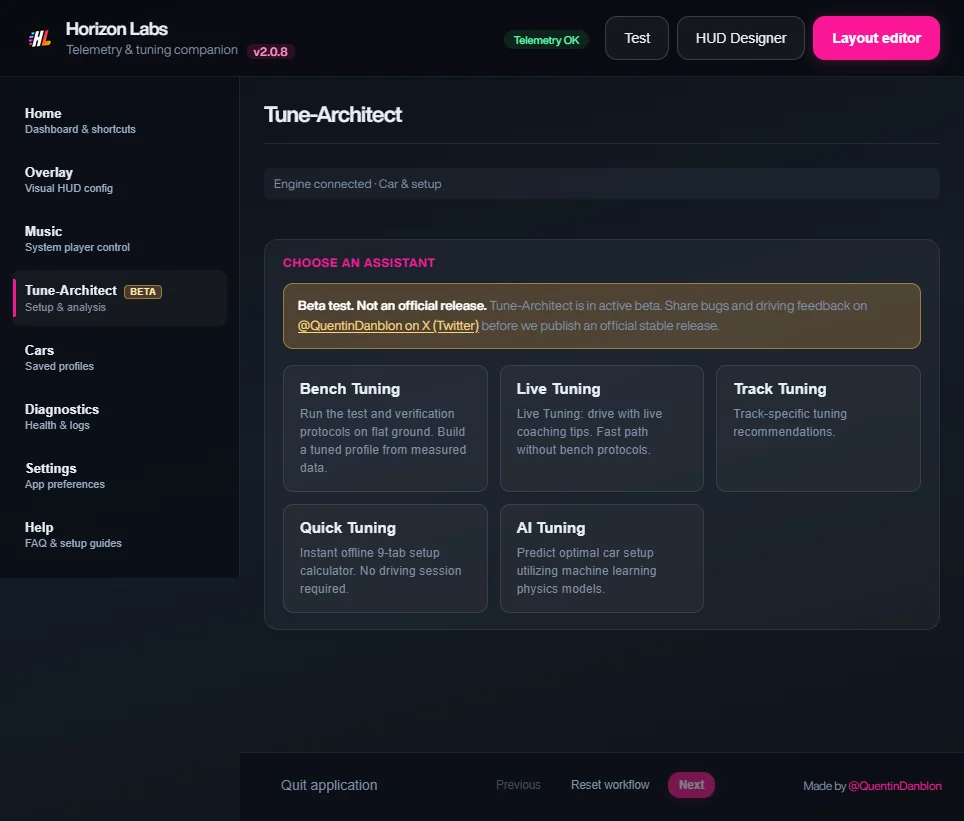
For a calculated baseline, choose Circuit (or Cornering, for technical roads) in Tune Architect’s Quick Setup, enter the values in Forza yourself, and use this guide to refine.
Parts and upgrades that matter
- Tyre compound and width. More contact patch is the largest single gain in grip. Choose the best compound that fits your class limit.
- Race suspension and anti-roll bars. They unlock springs, damping, ride height and bar stiffness; without them you tune almost nothing.
- Differential. A race differential gives you acceleration and deceleration lock, which govern exit traction and entry stability.
- Aero. Front and rear wings add grip that grows with speed. Fit them on tracks with fast corners.
- Weight reduction and brakes. Less weight helps everything. Race brakes give consistent stopping and more adjustment.
- Gearbox. A race gearbox allows you to set the final drive for the circuit.
Slider by slider
Tyres
Start here. Pressure shapes the contact patch: lower pressure usually adds grip but makes the car slower to respond, higher pressure sharpens response but gives up some grip, according to community guides. If the car will not turn in, lower the front pressure; if the rear steps out, lower the rear. Tyre temperatures tell you whether you are right (see below).
Gearing
Set the final drive so the car reaches top gear at the end of the longest straight without sitting on the limiter, then check that second and third gear cover the slow corners. Short gearing accelerates harder but runs out of speed; long gearing is the opposite. Treat the gearing as a circuit choice, not a general setting.
Alignment
- Camber: negative on all four wheels, more at the front for turn-in grip. Enough that the tyre’s tread sits flat when the car leans, not so much that the inside edge overheats or braking suffers.
- Toe: small front toe-out sharpens turn-in; small rear toe-in adds stability. Large values add drag and wear.
- Caster: higher caster improves straight-line stability and gives more camber when you turn the wheel.
Anti-roll bars
The quickest balance tool. A stiffer bar on one axle reduces that axle’s grip in corners. For understeer, soften the front bar or stiffen the rear one; for oversteer, do the opposite. Make small changes and test one corner type at a time.
Springs and ride height
Stiffer springs sharpen response and limit body motion, which helps with aero platforms; softer springs absorb bumps and keep the tyres on the road. On a bumpy road, go softer; on a smooth circuit, firmer. Keep the ride height as low as the road allows without bottoming out, since lower reduces roll and drag. Keep front and rear in proportion to the car’s weight distribution.
Damping
Rebound controls how fast the body comes back; bump controls compression over bumps and kerbs. As a rule, rebound is stiffer than bump, and both are scaled to the springs. Too stiff makes the car skip; too soft makes it float and slow to settle after a direction change.
Aero
More downforce adds corner grip and stability but costs top speed. Raise it for fast, flowing tracks and lower it for long straights. Balance front and rear so the car stays neutral at speed: more rear for stability, more front for turn-in.
Brakes
Balance forward gives stability under braking; moving it rearward helps rotation but risks a lock-up at the rear. Set pressure so you can brake hard without locking tyres; ABS use depends on your assist choice.
Differential
Acceleration lock controls how much both driven wheels share power on exit: more lock gives traction but pushes the car wide; less lock allows the inside wheel to spin but turns in more freely. Deceleration lock controls stability on lift-off and braking. Raise it if the rear is nervous on entry; lower it if the car resists turning in.
Common mistakes
- Tuning springs before tyres. Pressure and temperature show most of the balance problem. Fix them first.
- Making the car too stiff. A rigid setup skips over bumps and loses grip on real roads.
- Too much aero for the track. You gain corner speed but lose to a slower car on the straights.
- Fixing everything with the differential. If the car pushes in the middle of the corner, look at bars, springs and alignment first.
- Not retesting. Change one slider and drive the same corner; two changes at once teach you nothing.
Use telemetry to tune
With Forza Horizon Data Out switched on (see the Data Out settings), Horizon Labs reads fields that show what the car is doing:
- Tyre temperature, each wheel
- A front axle running much hotter than the rear fits understeer; the opposite fits oversteer. A tyre far hotter than the other three is working too hard.
- Tyre slip, each wheel
- Shows which tyre gives up first in a corner, under braking or on exit.
- Suspension travel, each corner
- Reveals bottoming out (so raise ride height or stiffen springs) and roll.
- Lateral and longitudinal G-force
- Your grip ceiling in corners and under braking. A higher peak with the same line means a better tune.
- Throttle, brake, steering
- Show where you are lifting or correcting, which usually points to balance problems.
- Lap times and best lap
- Compare changes; see lap delta explained.
You can show these on the overlay or in a HUD from the Designer. The full field list is in the FH6 telemetry fields reference.
Where to go next
Tune Architect can refine a grip tune with Bench, Live and Track tuning. Horizon Labs only reads the telemetry the game sends; you enter every value in Forza yourself.
Sources: Forza Horizon Hub FH6 tuning guide, Steam Community Forza Horizon 5 tuning guide. These are community guides, not official Playground Games documentation. Checked 2 November 2026.