
A good Forza Horizon 6 drag tune gets as much power onto the road as possible at the start, then keeps the engine in its power band to the finish line without hitting the rev limiter early. That means drag-compound tyres, a differential that drives the wheels evenly, gearing built around a target speed at the line, and almost no aero drag. The sections below say which way to move each slider and why. Any numbers are starting points that depend on the car, so confirm each change against your times.
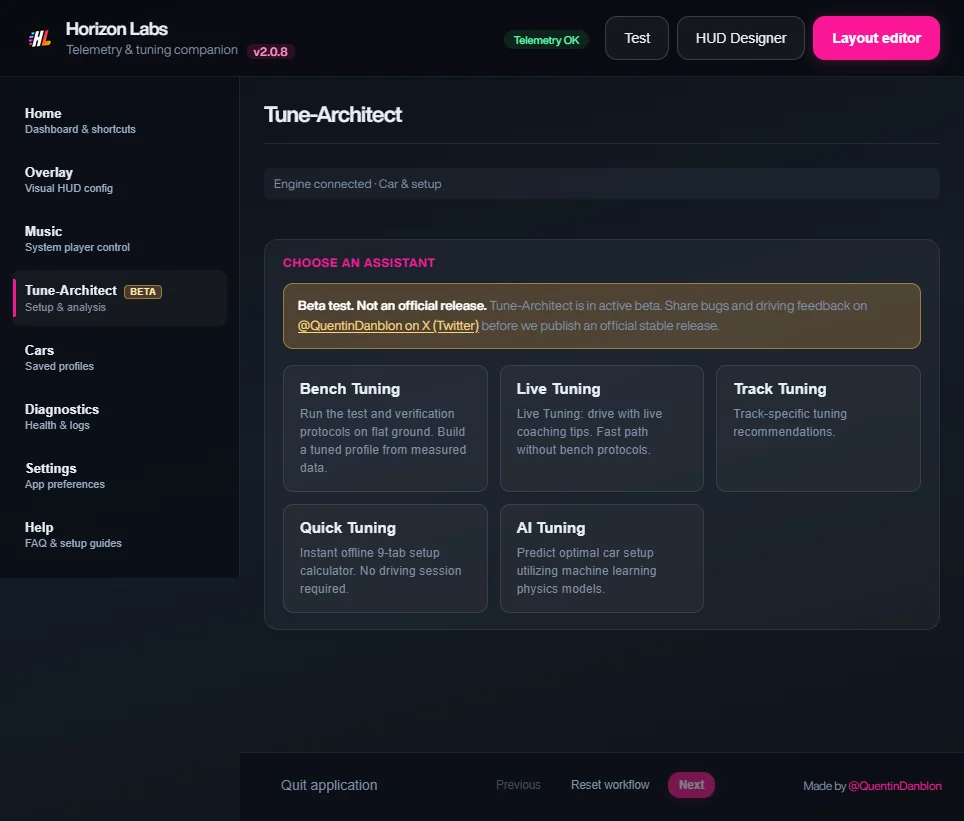
For a calculated baseline, choose the Drag goal in Tune Architect’s Quick Setup (launch grip and short gears, in the app’s own description), enter the values in Forza yourself, and refine with this guide.
Parts and upgrades that matter
- Tyres. A drag compound and a wide rear tyre (and a wide front on AWD cars) are the biggest launch upgrade.
- Drivetrain. AWD launches hardest off the line; RWD can win at high speed if you can control the wheelspin. Swaps are allowed in many cars, so choose by event, not by habit.
- Race gearbox. It unlocks individual gear ratios and the final drive, which is the main drag tuning tool.
- Differential. A race differential lets you set acceleration lock.
- Weight reduction and engine/turbo upgrades. They raise power-to-weight, but more power only helps if the tyres can use it.
- Aero. Remove optional wings or set them to minimum drag unless the track has fast corners.
Slider by slider
Tyres
Rear pressure lower, to widen the contact patch and improve launch grip; front pressure higher, because the front tyres carry little load and less pressure only adds rolling resistance. Community guides describe lower pressure as more grip, so if the car spins at launch, drop the driven tyres’ pressure in small steps. If the tyres feel vague or overheat, raise it.
Gearing
This is the most important slider. Work backwards from your target speed at the end of the run: adjust the final drive so the last gear reaches the line near the rev limiter, rather than topping out early or never reaching it. Then space the gears so each shift drops the engine back into its torque peak. First gear should be short enough to launch strongly but long enough that you are not in the limiter before the first shift. Gearing for a quarter-mile and gearing for a long top-speed run are different tunes.
Alignment
Aim for straight and simple. Camber near zero at the driven axle maximises the flat contact patch under straight-line load. Toe near zero reduces rolling drag and keeps the car straight. Caster matters little; leave it moderate for stable steering at speed.
Anti-roll bars
They matter little in a straight line. Set them soft to moderate so the car does not bind during the launch, and keep the balance neutral for the occasional lane correction.
Springs and ride height
The aim is to let weight transfer onto the driven tyres. Softer springs let the body pitch under acceleration, moving load rearward; stiffer springs limit that movement. Rates that work depend heavily on the car, so adjust by feel: if the front lifts too far and the car wanders, stiffen the front; if the driven tyres spin because the car squats unevenly, stiffen the rear a little or add damping. Keep ride height low enough to cut drag, but high enough not to bottom out at launch.
Damping
Damping controls how fast the weight shifts. Softer front rebound lets the nose rise more easily; stiffer rear bump slows the squat and can calm a car that hooks and then unloads. Keep it moderate and test with repeated launches.
Aero
Minimum. Downforce adds drag, which costs top speed, and a straight run needs little. If the car is unstable at high speed, add a small amount of rear downforce and accept the slight slowdown.
Brakes
Low priority in a drag. Leave the balance forward and pressure moderate, so you can stop safely after the line.
Differential
For RWD, set acceleration lock high so both rear wheels drive. For AWD, keep the rear and centre biased towards the rear if the front wheels spin early, and avoid locking so much that the car pushes straight. Deceleration lock is not important in a drag. If one tyre lights up and the other does not, raise acceleration lock.
Common mistakes
- Gearing for peak speed you never reach. If you never hit the last gear’s limiter before the line, shorten the final drive.
- Too much power for the tyres. A lot of wheelspin in first gear loses more time than a smaller engine would.
- Leaving the stock final drive. It is usually set for a general-purpose car.
- Running downforce. It adds drag with no benefit in a straight line.
- Judging by a single run. Launch timing, the road surface and wheelspin vary. Compare an average over several runs.
Use telemetry to tune
With Forza Horizon Data Out switched on (see the Data Out settings), Horizon Labs reads the fields you need for drag tuning:
- RPM and gear
- Launch RPM, and the RPM you shift at. A shift that lands well below the torque peak means the gears are spaced too far apart; hitting the limiter early means the ratio is too short.
- Speed and race time
- The speed you carry at each shift and at the line, and the elapsed time for comparison.
- Tyre slip, each wheel
- High slip at launch means too much power for the grip, too little pressure or too much lock.
- Longitudinal G-force
- A flat, high reading means the tyres are using the power; dips show wheelspin or a bad shift.
- Power, torque and boost
- Show where the engine peaks and how the turbo builds, so you can place shifts.
- Throttle and brake
- Confirm clean full-throttle runs.
You can show these on the overlay or arrange them in the Designer. The full list is in the FH6 telemetry fields reference.
Where to go next
Tune Architect can test your gearing on the Bench from a straight pull. Horizon Labs only reads the telemetry the game sends; you enter every value in Forza yourself.
Sources: Forza Horizon Hub FH6 tuning guide, Steam Community Forza Horizon 5 tuning guide. These are community guides, not official Playground Games documentation. Checked 2 November 2026.